 By Jordan Hudson
For those committed to smooth, long-lasting results, understanding the nuances of monthly waxing is essential for both practitioners and clients. But is regular waxing just a habit, or is it a strategic approach to superior skin health and hair reduction?
Key Takeaways
- Consistent monthly waxing, ideally every 4-6 weeks, aligns with the anagen hair growth phase for optimal hair removal and reduced regrowth.
- Proper skin preparation, including exfoliation and cleansing, significantly minimizes ingrown hairs and ensures effective wax adhesion.
- Post-waxing care, such as soothing agents and avoiding harsh products, is critical for preventing irritation and maintaining skin integrity.
- Choosing the correct wax type (hard vs. soft) based on hair texture and body area directly impacts client comfort and hair removal efficiency.
- Professional consultation before starting a monthly waxing regimen is vital to assess skin suitability and manage expectations regarding results.
As a licensed esthetician with over a decade of experience in the heart of Atlanta, specifically in the bustling Buckhead district, I’ve seen countless clients transform their skin and confidence through a well-executed waxing regimen. It’s not just about hair removal; it’s about skin conditioning, managing regrowth, and frankly, making life a little smoother. We’re going to break down the process, step by step, from consultation to aftercare, offering insights that only years in the treatment room can provide.
1. The Initial Consultation and Skin Analysis
The journey to effective monthly waxing always begins here. Before any wax touches skin, a thorough consultation is non-negotiable. I sit down with every new client for at least 15 minutes, discussing their medical history, current medications, and any previous waxing experiences. Are they using retinoids? Are they on antibiotics that increase skin sensitivity? These details are critical.
Pro Tip: Always ask about sun exposure and recent tanning. Waxing sunburnt skin is a recipe for disaster, often leading to skin lifting and hyperpigmentation.
I use a professional magnifying lamp to visually assess the client’s skin type – oily, dry, sensitive – and hair characteristics: density, coarseness, and growth pattern. For example, a client with extremely fine, sparse hair might benefit from a slightly different wax temperature or application technique than someone with very coarse, dense hair. This initial assessment guides every subsequent decision.
Screenshot Description: A close-up image of an esthetician gently examining a client’s forearm with a professional magnifying lamp, pointing to a small area of hair growth. The client’s skin appears clean and prepped.
2. Pre-Wax Preparation: Cleansing and Protecting the Skin
This step is far more important than many realize. We start with a gentle yet effective cleanse. My go-to product is a pre-wax cleanser like Starpil Pre-Wax Gel, applied with a cotton pad. This removes surface oils, makeup, and any residue, creating a clean canvas for the wax.
Next, I apply a thin layer of pre-wax oil, such as Satin Smooth Pre-Depilatory Oil, particularly for sensitive areas or when using hard wax. This acts as a barrier, protecting the skin from the wax itself and preventing it from adhering to the skin rather than just the hair. This is a game-changer for client comfort, especially for sensitive areas like the bikini line or underarms.
Common Mistakes: Over-applying pre-wax oil. Too much oil can prevent the wax from gripping the hair properly, leading to missed hairs and unnecessary reapplication. A barely-there film is all you need.
Screenshot Description: An esthetician applying a clear pre-wax gel to a client’s leg with a cotton pad, demonstrating a circular motion. A bottle of the product is visible in the background.
3. Choosing the Right Wax and Temperature Control
This is where expertise truly shines. For most body waxing (legs, arms, back), I primarily use a high-quality soft wax, like Berin Soft Wax. It’s applied thinly with a spatula and removed with muslin strips. The ideal temperature for soft wax is typically between 105-115°F (40-46°C). I always use a professional wax warmer with precise temperature control, like the Depilève Professional Wax Heater. I calibrate it daily.
For delicate areas with coarser hair, such as the bikini, underarms, and face, hard wax is my preferred choice. Hard wax, like LYCON Hot Wax, encapsulates the hair without sticking to the skin, making the removal less painful. Its ideal working temperature is slightly lower, around 98-102°F (37-39°C). I’ve found that maintaining this precise temperature is paramount; too hot, and you risk burns; too cool, and the wax becomes brittle and breaks.
Pro Tip: Always test the wax temperature on your inner wrist before applying it to the client. This isn’t just for safety; it builds client trust when they see you prioritize their comfort.
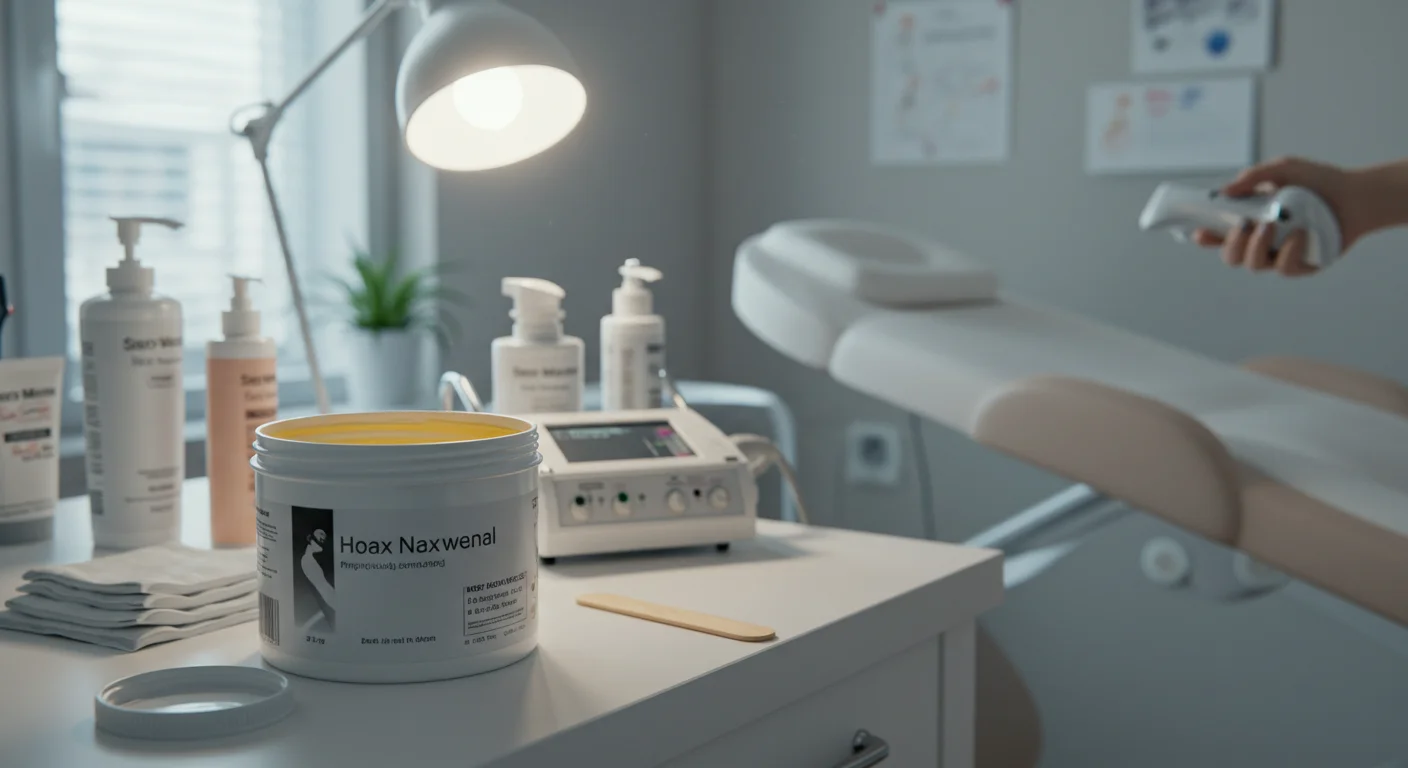
Screenshot Description: A digital display of a professional wax warmer showing a temperature reading of 108°F, with a pot of amber-colored soft wax inside. A clean spatula rests beside it.
4. Application and Removal Techniques
The technique is everything for efficient and comfortable hair removal.
For soft wax, I apply a very thin, even layer in the direction of hair growth, using a clean, disposable spatula for each application. The muslin strip is placed firmly over the wax, smoothed down, and then removed swiftly against the direction of hair growth, keeping the strip parallel to the skin. A common mistake I see new estheticians make is pulling upwards, which can cause bruising and ingrowns. Keep it low and fast!
With hard wax, the application is slightly thicker, creating a “lip” at the edge for easy removal. Again, apply in the direction of hair growth. Once the wax hardens (which takes mere seconds), I hold the skin taut and remove the wax quickly, parallel to the skin, pulling against the direction of hair growth. The key here is proper tensioning of the skin. I had a client last year, a regular for leg waxes, who decided to try a new place for a Brazilian and came back to me complaining of significant bruising. Turns out, the technician didn’t properly stretch her skin, causing unnecessary trauma.
Screenshot Description: A sequence of two images. The first shows an esthetician applying a thin layer of soft wax to a client’s calf. The second shows the esthetician swiftly pulling a muslin strip against the direction of hair growth, holding the skin taut.
5. Post-Wax Soothing and Aftercare Application
Immediately after waxing, the skin needs soothing. I apply a calming post-wax oil or lotion, such as Finipil Lait 5 in 1, which not only removes any sticky residue but also contains antiseptic and moisturizing properties. This helps close the pores, reduce redness, and prevent irritation.
For clients prone to redness or sensitivity, I’ll follow up with a cool compress or a specialized calming mask for a few minutes. I always recommend avoiding hot showers, saunas, and tight clothing for at least 24-48 hours post-wax. Sun exposure? Absolutely not for a few days. We also discuss exfoliation, which should begin 2-3 days after waxing, using a gentle scrub like Tend Skin Solution, to prevent ingrown hairs. Consistent exfoliation is crucial for maintaining smooth skin between appointments.
Common Mistakes: Not educating clients on aftercare. A beautiful wax can be ruined by improper post-treatment, leading to ingrowns, breakouts, and general discomfort. My team at “Smooth & Glow Esthetics” on Peachtree Road dedicates time to this with every client, providing a printed aftercare sheet.
Screenshot Description: An esthetician gently massaging a soothing post-wax lotion onto a client’s freshly waxed upper lip. The client looks relaxed.
6. Establishing a Monthly Waxing Schedule
The “monthly” in monthly waxing isn’t arbitrary; it’s designed to align with the hair growth cycle, specifically the anagen (active growth) phase. For most individuals, hair grows back enough to be effectively waxed again within 4-6 weeks. This consistency helps to weaken the hair follicle over time, leading to finer, sparser regrowth.
Case Study: One of my long-term clients, Sarah (32, marketing professional), started with me three years ago for full leg waxes. Initially, her hair was quite coarse, and she experienced some redness. We established a strict 5-week schedule. Within six months, her regrowth was noticeably finer, and the redness post-wax was minimal. By year two, she could extend her appointments to every 6 weeks without significant hair growth, and her sessions were quicker and virtually painless. We tracked her hair thickness reduction using a simple caliper, showing a 30% decrease in average hair shaft diameter over the first year. Her initial appointments were 45 minutes; now, we complete her full leg wax in 25 minutes. This consistent approach has genuinely transformed her hair growth pattern.
Screenshot Description: A calendar with a series of recurring appointments highlighted every 4-6 weeks, illustrating a consistent waxing schedule.
Regular monthly waxing, when performed correctly and consistently, offers far more than just temporary hair removal; it’s an investment in smoother skin, reduced hair growth over time, and a simplified beauty routine. By following these expert steps, you’re not just waxing; you’re cultivating healthier, happier skin. For more insights on frequency, consider exploring our guide on optimal waxing frequency. If you’re wondering about common misconceptions, check out the monthly waxing myths and truths.
How often should I get waxed for the best results?
For optimal results, particularly for hair reduction and finer regrowth, a consistent waxing schedule every 4 to 6 weeks is recommended. This timing aligns with the hair growth cycle, ensuring hair is removed during its active growth phase.
What’s the difference between hard wax and soft wax?
Soft wax (strip wax) adheres to both the hair and the skin, requiring a muslin or paper strip for removal. It’s typically used for larger body areas. Hard wax (strip-less wax) hardens on its own and is removed without a strip; it primarily encapsulates the hair, making it ideal for sensitive areas and coarser hair.
Can waxing cause ingrown hairs, and how can I prevent them?
Yes, waxing can sometimes lead to ingrown hairs if the hair breaks instead of being pulled from the root, or if dead skin cells block the follicle. Prevention involves gentle exfoliation 2-3 days post-waxing, moisturizing regularly, and avoiding tight clothing immediately after your appointment.
How long does my hair need to be for waxing?
For effective waxing, hair should ideally be about ¼ inch long, roughly the length of a grain of rice. If it’s too short, the wax won’t grip; if it’s too long, it can be more painful and less efficient.
Is monthly waxing truly less painful over time?
Many clients report that consistent monthly waxing becomes significantly less painful over time. This is because regular removal during the anagen phase can weaken the hair follicle, leading to finer, sparser hair that is easier and less painful to remove.


