 By Editorial Team
Hygiene in a professional waxing studio isn’t just a nice-to-have. It’s the foundation of your entire business, protecting your clients and your reputation. Sticking to strict cleanliness checklists and solid studio routines is the only way to guarantee every part of your space, from the tools to the front desk, helps create genuinely pristine studios. So, what does that look like day-to-day?
Key Takeaways
- You need a three-part cleaning schedule (pre-opening, between clients, and closing) with non-negotiable tasks for each time slot.
- Only use EPA-approved, professional-grade disinfectants, and you have to respect the required contact times for them to actually work.
- Your equipment, like wax warmers and UV sterilizers, needs regular checks and maintenance based on the manufacturer’s directions to stop cross-contamination before it starts.
- Keep your supplies organized and in clear storage, because a cluttered room is a dirty room and impossible to clean efficiently.
1. Pre-Opening Protocol: Setting the Standard Before the First Client
Your pre-opening routine sets the tone for the entire day’s hygiene before anyone even walks in the door. This process creates a sterile field, not just makes the place look tidy. I’ve seen so many studios rush this step, and I can tell you that cutting corners in the morning always causes bigger problems by afternoon.
Pro Tip: The “Touch Test”
After you wipe something down, go back over it with a clean, dry cloth. If you feel any stickiness or residue, it’s not clean enough. This little tactile check catches what your eyes will definitely miss.
Common Mistakes: Overlooking High-Touch Areas
Everyone remembers to wipe down the treatment bed, but they almost always forget the doorknobs, light switches, and the credit card machine. These high-touch spots get handled all day long and need just as much attention.
Step 1.1: Surface Disinfection of All Client-Facing Areas
Start by spraying down all your reception counters, waiting room chairs, and product displays with an EPA-registered hospital-grade disinfectant. You should be using something like Clorox Healthcare Bleach Germicidal Wipes or another professional quaternary ammonium compound (quat) solution. Let the disinfectant actually sit there for the full contact time listed on the label, usually 3 to 5 minutes, before you wipe it off with a fresh disposable paper towel. This is what actually neutralizes pathogens.
Step 1.2: Sanitizing Treatment Room Surfaces and Equipment
Now, head into the treatment rooms. Disinfect the bed, your cart, shelves, and any equipment you’ll be using, including the outside of your GiGi Wax Warmer (or whatever model you use) and any reusable hand-held tools. The Centers for Disease Control and Prevention (CDC) guidelines are clear: you have to clean off any visible dirt *before* you apply your disinfectant. I drill this into my trainees’ heads all the time because ‘clean’ and ‘disinfected’ are two completely different things.
Step 1.3: Preparing Tools and Supplies
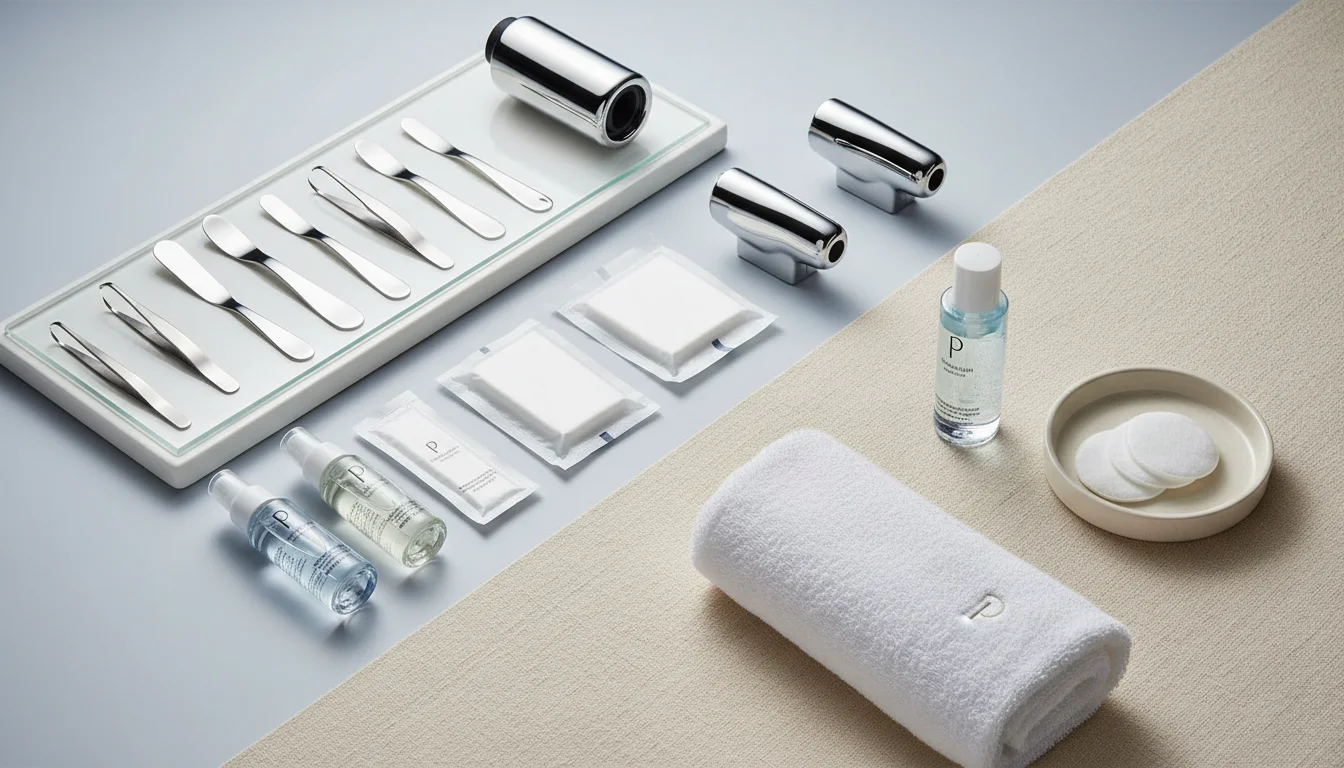
Make sure any metal tools like tweezers have been fully sterilized from the night before. If you’re using an autoclave, double-check that the cycle finished correctly. For a UV sterilizer cabinet, confirm the cycle is done. Lay out fresh, clean linens on the bed and stock up on all your disposables: spatulas, cotton, pre- and post-wax solutions, and gloves. The Occupational Safety and Health Administration (OSHA) Bloodborne Pathogens Standard requires us to use personal protective equipment like gloves for any task with potential exposure to blood or other infectious materials.
2. Between-Client Turnover: Rapid Response for Continuous Hygiene
That time between clients can feel like a mad dash, but it’s where your most important hygiene procedures take place. You have to be fast without sacrificing thoroughness. A practiced, automatic routine is what stops cross-contamination in its tracks and keeps you looking professional.
Pro Tip: Color-Coded Cleaning Cloths
Use a color-coded system for your cleaning cloths, like green for general surfaces and blue just for treatment beds. It’s a dead-simple organizational hack that gives you a quick visual cue to prevent you from accidentally wiping the front desk with the same cloth you used on the bed.
Discover the smoothest way to stay hair-free
Expert waxing that leaves you smooth for weeks. Find a top-rated studio near you.
Find a Wax Center Near You →Common Mistakes: Rushing Contact Times
The single biggest mistake people make is wiping off disinfectant spray the second they spray it on. That contact time on the label isn’t a suggestion. If the bottle says 3 minutes, you have to let it sit for 3 minutes to kill anything, even if it means adding a minute or two of buffer time to your booking schedule.
Step 2.1: Immediate Disposal of Used Materials
The second the client is out the door, throw out all used disposables, spatulas, cotton pads, paper products, everything. Used linens go straight into a designated, covered laundry bin. This gets potential contaminants out of the room as fast as possible. While we aren’t a medical facility, looking at the Environmental Protection Agency (EPA) guidelines for medical waste disposal gives you a good framework for how to handle everything responsibly.
Step 2.2: Disinfection of the Treatment Bed and Surrounding Area
Spray down the entire treatment bed with your EPA-registered disinfectant, making sure to hit the headrest and armrests and focusing on every spot where their skin touched. Let it sit for the full contact time before wiping it down completely. You also need to disinfect any reusable items that might have been touched, like product bottles or the handheld mirror you give to the client. I’m a stickler for using a fresh, clean paper towel for every single surface to avoid just pushing germs from one spot to another.
Step 2.3: Replenishing Supplies and Resetting for the Next Client
Swap out the used linens for a fresh set. Restock all your disposables so everything is ready and within arm’s reach for the next person. That means a new roll of bed paper, if you use it, and clean, individually wrapped spatulas. A well-organized cart just makes your life easier and your service smoother. A quick scan of the room for any trash or stray wax drips is the last part of the reset.
3. Closing Procedures: Deep Clean and Preparation for Tomorrow
Your end-of-day routine is a full-on deep clean, not just a quick tidy. This is when you do all the bigger jobs that are impossible to fit in the quick turnarounds between appointments, getting the studio totally reset for tomorrow.
Pro Tip: The “Zone Cleaning” Approach
Break your studio up into zones: reception, each treatment room, the bathroom, and your back bar or break area. Create a rotating schedule that assigns deep cleaning tasks to each zone which guarantees every corner of your studio gets a serious scrub-down at least once a week.
Common Mistakes: Neglecting Equipment Maintenance
Your wax warmers, UV cabinets, and vents need real, scheduled maintenance, not just a surface wipe. If you ignore them, you’re risking both your hygiene standards and the lifespan of your expensive equipment.
Step 3.1: Thorough Cleaning and Sterilization of All Reusable Tools
Gather all your metal tools like tweezers. First, wash them with soap and water to get all the visible gunk off. Then, either soak them in a high-level disinfectant for the required time or, better yet, run them through an autoclave following its instructions. If you’re using a UV sterilizer, the tools must be clean and bone-dry before they go in for a full cycle. Your state board has its own rules, like the Texas Department of Licensing and Regulation (TDLR) which has very specific sterilization requirements for tools, but the basic principles of sanitation don’t change no matter where you are.
Step 3.2: Deep Cleaning of Floors and Restrooms
Vacuum or sweep all the floors, then mop using a disinfectant floor cleaner, getting into the corners and under furniture where wax and hair love to hide. Give the restroom a full disinfection, toilet, sink, mirror, and door handles. Refill the soap and paper towels. A sparkling clean restroom tells clients everything they need to know about your studio’s overall hygiene.
Step 3.3: Emptying Waste Bins and Securing the Studio
Empty every single trash can in the studio, put in new liners, and take the trash bags out to the dumpster. Do one last walk-through: turn off lights, unplug equipment where it makes sense for safety, and lock all the doors and windows. This final check secures the building and is your confirmation that the day’s cleaning protocol is 100% complete, so you can walk in fresh tomorrow.
I’ve seen it time and again: studios that are militant about these detailed checklists get fewer hygiene complaints, keep their clients longer, and build a rock-solid reputation. You’re not just cleaning. You’re investing in trust.
The Bottom Line
Putting a non-negotiable, daily cleaning system in place is how you build client confidence and run a professional operation. It’s not just about upkeep. Consistently follow these steps, and every single corner of your studio will show your commitment to the absolute highest standards of hygiene.
How often should wax warmers be deep cleaned?
You’ve got to wipe down and disinfect your wax warmers after every single client. A full deep clean, where you take apart any removable pieces, needs to happen at least weekly, or more often if you have spills or a lot of buildup. Check your warmer’s manual for its specific cleaning rules.
What type of disinfectant is most effective for studio use?
You need an EPA-registered, hospital-grade disinfectant. Make sure the label says it’s bactericidal, virucidal, and fungicidal. Quaternary ammonium compounds (quats) are a solid, common choice, but you must always read the label to see what it kills and what the required contact time is.
Can I reuse disposable spatulas if they haven’t touched the client’s skin?
Absolutely not. The moment a spatula goes into the wax pot, it’s considered used and must be thrown out after that service. “Double-dipping” is a huge source of cross-contamination because it introduces bacteria right into your wax, so it’s forbidden, period.
How can I ensure proper ventilation in the treatment rooms?
To keep air quality high, get your HVAC system serviced regularly and change the filters on schedule. I’d also put air purifiers with HEPA filters in each treatment room. And if you have windows, crack them open between clients for a few minutes to get fresh air circulating.
What is the best way to store clean linens and towels?
Your clean linens and towels must be kept in a closed cabinet or a sealed container where they’re protected from dust and anything else floating in the air. Keep them stored completely separate from the dirty linen hamper to prevent any contamination.


